


In this tutorial, I will be covering how you can optimize your sales funnel for your WooCommerce Divi website.
With this funnel, you will increase your sales and AOV (average order value) for your webshop.
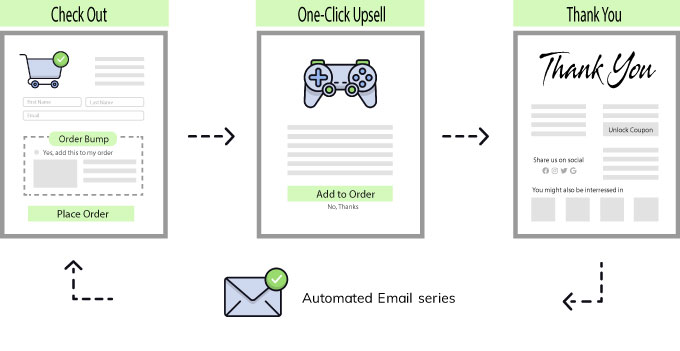
What we will be covering in this tutorial:
- How to create a custom checkout page
- How to add an order bump to your checkout page
- How to add a one-click upsell
- How to create a custom thank you page
- How to create a follow-up email campaign
The funnel builder
To create this funnel I will be using the Funnel Builder from BuildWooFunnels (this is also the software that I use on my own websites).
The great thing about this software is that it is fully compatible with Divi. All the premade templates we can use are built with Divi. So we can also edit them with the Divi builder.
After installing this plugin you can create your first funnel.
Go to Woofunnels > Funnels and click on Add a new funnel.
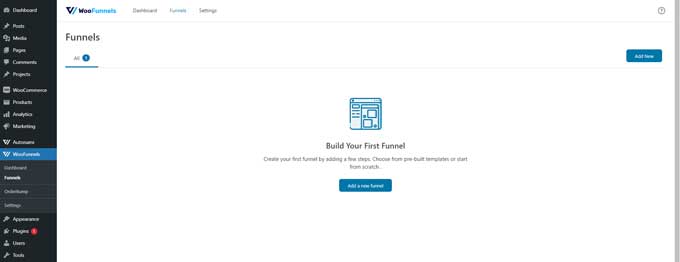
Give your funnel a name and your first funnel is created. In the next step, we are going to create a custom checkout page with an order bump.
How to create a custom checkout page in WooCommerce
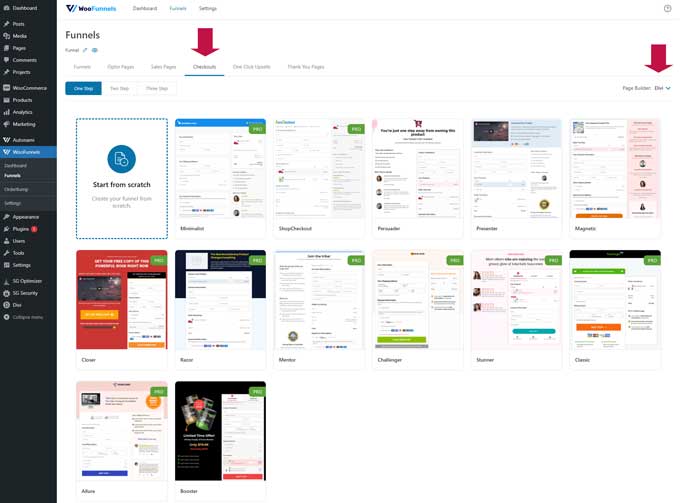
On the next screen, we can choose the first step in our funnel.
We will start our funnel with the checkout page (you can also begin with the opt-in or sales page).
Click on the checkouts tab and then switch to Divi (right-top).
Now you will get an overview of all the premade checkout pages that are built with Divi.
You can choose any premade template or build one from scratch.
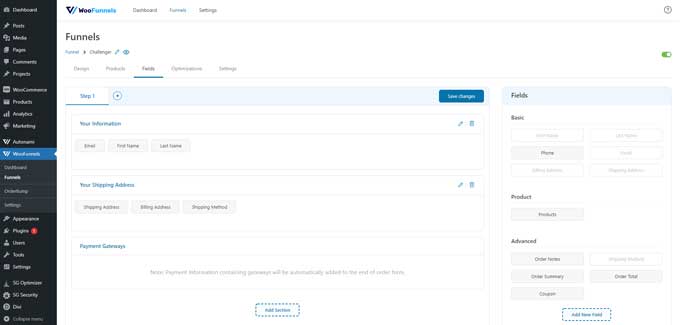
Create a custom checkout form in WooCommerce
You can add, rearrange or remove checkout form fields easily with the funnel builder.
Open the checkout page and go to the Fields tab. Here you can build your custom checkout form.
Add an order bump to your checkout page
With an order bump, you can add an extra small offer on the checkout page. Here is an image of the order bump that I use on my own checkout page.
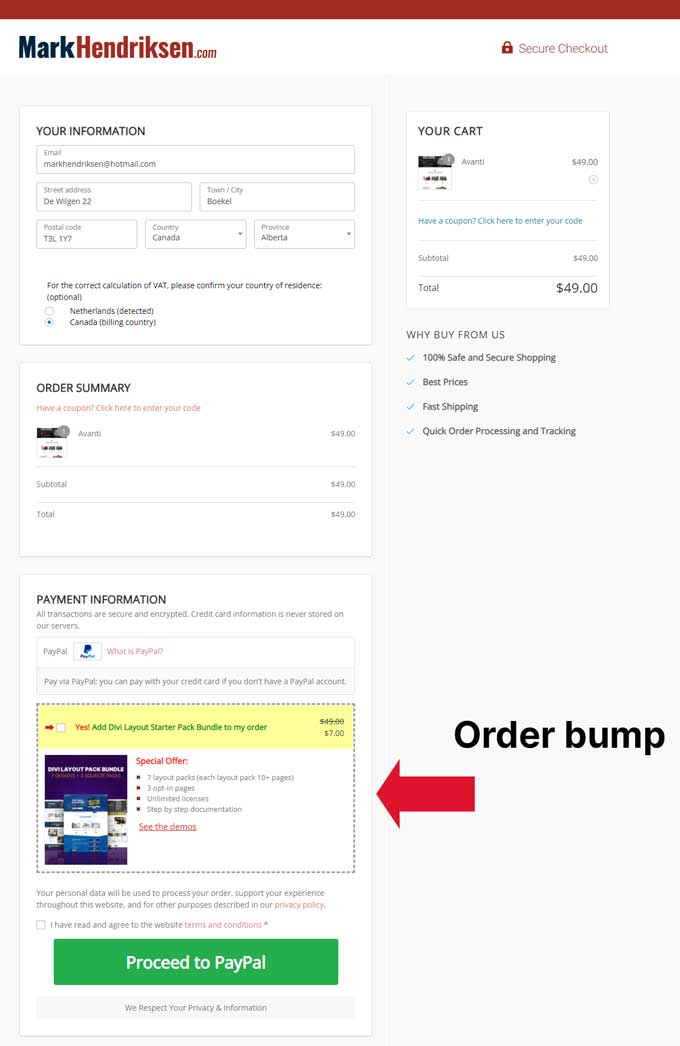
If you need some order bump ideas I recommended reading this post.
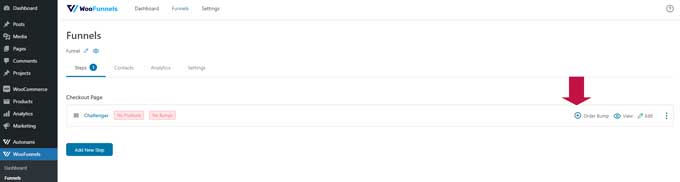
Creating an order bump is super easy to do in the Funnel Builder. Go to your funnel and open the checkout step. Now click on Add order bump.
Give your order bump a name and then click on the order bump to customize it. Now you need to add a product for your order bump (this is a product that needs to be created in WooCommerce > Products).
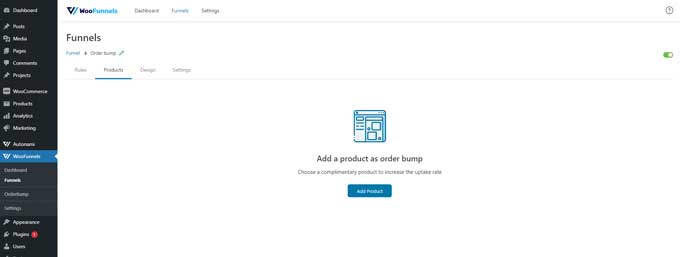
When you have done this you can further customize the order bump in the Design tab.
How to create a one-click upsell
The one-click upsell happens after the checkout but before the customer is sent to the thank you page.
Your customer should get an offer that complements the primary purchase.
For example, the primary sale was a pair of socks. As a one-click upsell you could offer 3 pairs of the same socks at a discounted price.
Another example, when you purchase a design on my site then you get my header layout pack with a discount as a one-click upsell.
Create the one-click upsell
Go to WooFunnels > Funnels and click on your funnel.
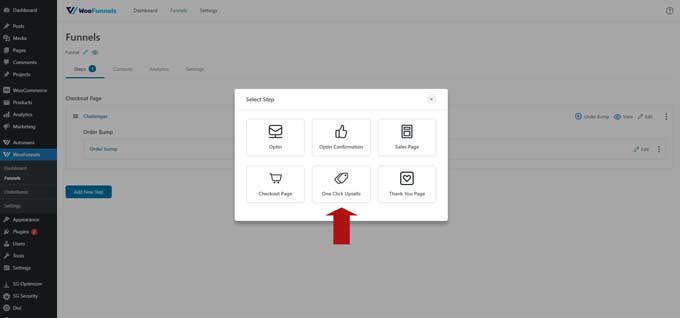
Click on add new step and choose One-Click Upsells.
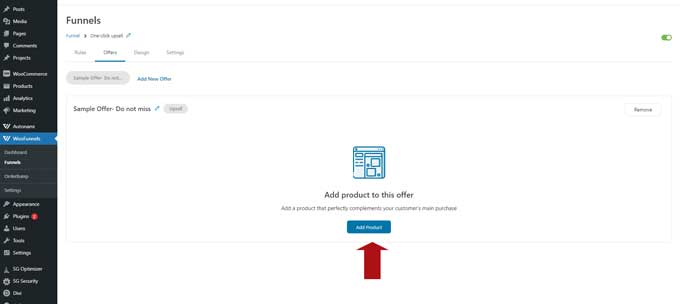
Next, you need to add a product for your one-click upsell.
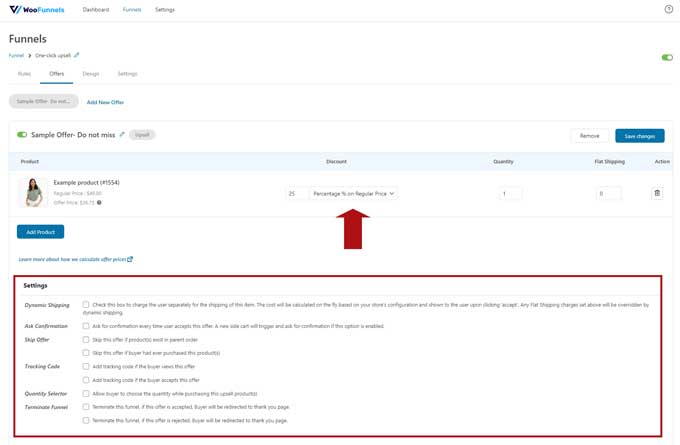
Now you can set a discount for this one-click upsell. Under the product, you can set additional settings for your one-click upsell.
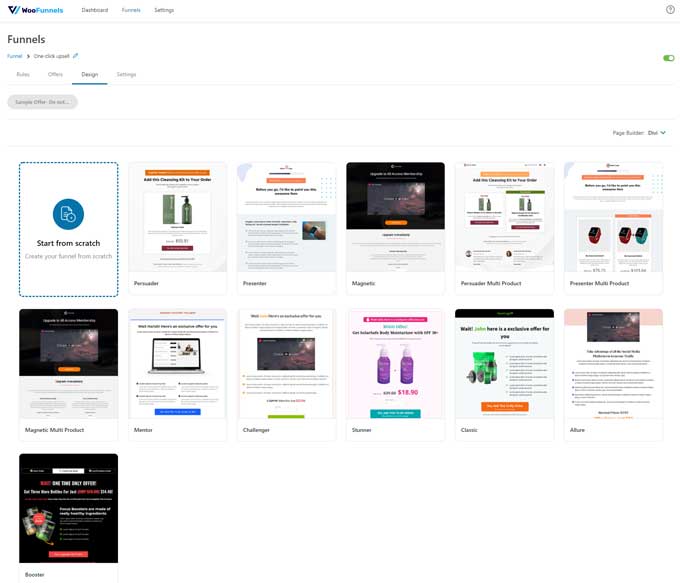
Switch to the design tab and choose one of the premade templates for Divi or create one from scratch.
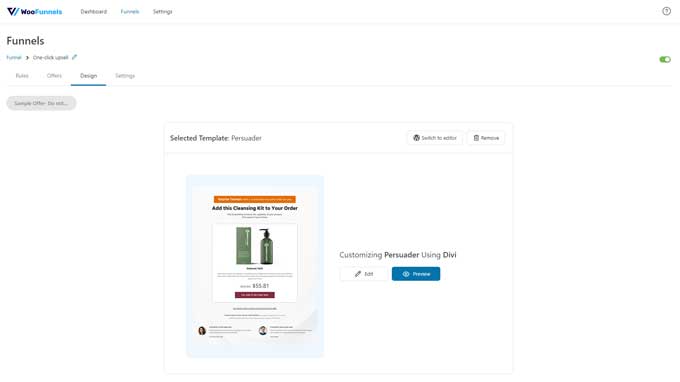
After choosing a template you can start customizing it.
How to create a custom thank you page
Go to WooFunnels > Funnels and click on your funnel.
Click on add new step and choose Thank You Page.
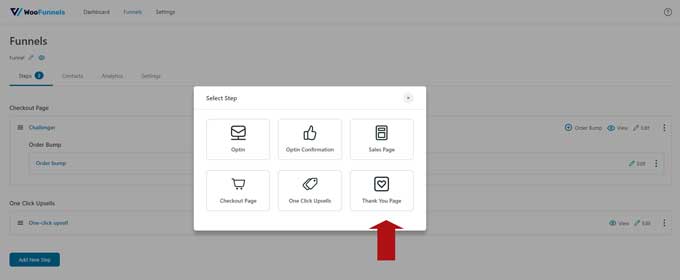
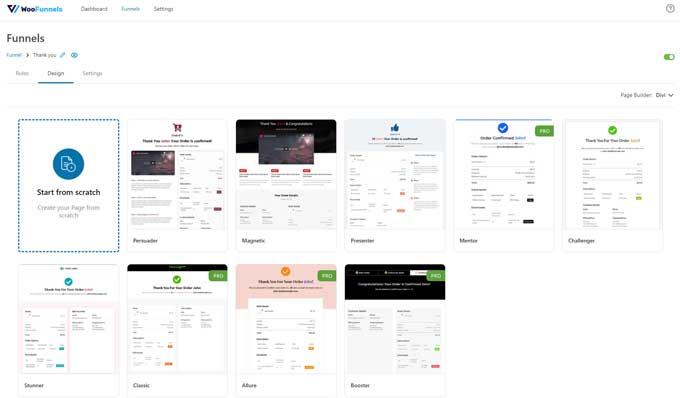
Now you can choose your thank you page template.
How to create a follow-up email campaign
With the Autonami extension, you can create targeted email campaigns for your customers.
I recommend using the following email campaigns (click on the links how to set up each of them).
With Autonami it is easy to set up these campaigns.
Below is an example of a Cart abandoned campaign.
This one will trigger when a cart is abandoned.
After 60 minutes there will be an email sent with a reminder of the abandoned cart.
If the cart is not recovered then another email will be sent after 24 hours with an evergreen coupon code.
If the cart is still not recovered the last reminder email will be sent that the coupon code is about to expire.

