


Learn how to create an engaging Divi image overlay that will keep your visitors interested in your site. This tutorial covers everything you need to know!
Are you looking to make your Divi website stand out against the competition? One of the best ways to do that is with image overlays—a background image combined with a background layer containing text and other elements.
Not only does this technique add visual interest, but it also helps draw attention to links and calls to action. In this tutorial, I’ll show you how you can quickly turn any of your images into eye-catching image overlays using Divi’s built-in tools!
Here is a sneak peek of what we are going to create.

Table of contents
- How to create a background image overlay
- How to create an image overlay on hover
- How to create an image overlay on hover with a title and button
- Divi Image Hover Module
- Conclusion
How to create a background image overlay
If you just want to add transparent background color on top of your image follow these steps.
Place an image module on your page and open it. Place an image in it and go to the Advanced tab.
Place the following CSS class: divi-image-overlay-bg.

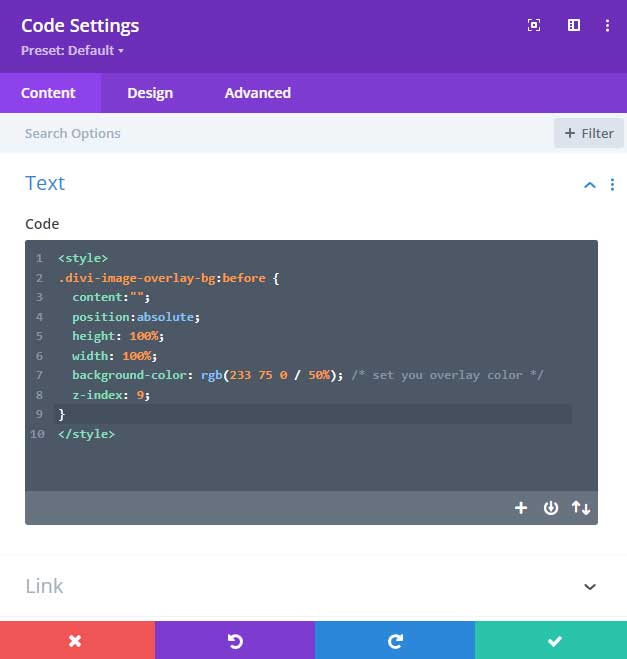
Now place a code module under your image and copy/paste the following code into it:
<style>
.divi-image-overlay-bg:before {
   content:"";
   position:absolute;
   height: 100%;
   width: 100%;
   background-color: rgb(233 75 0 / 50%); /* set you overlay color */
   z-index: 9;
}
</style>
Under the background color, you can change your own color.
How to create an image overlay on hover
This is very easy to do and does not require any custom code. Just place an image module on your page and add an image to it.
Then expand the Link tab and place either a link or a dummy link into it.
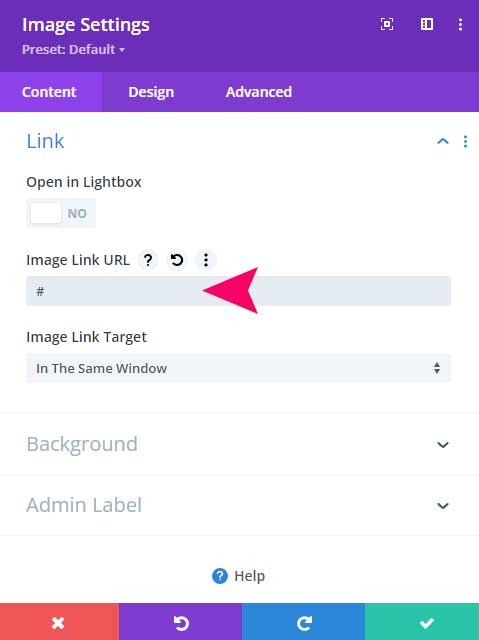
After that navigate to the Design tab and expand the Overlay tab. The overlay tab will only be visible when you add a link to your image. That’s why we did that in the previous step.
From here it is very straightforward, enable the Image overlay and all the options will be visible.
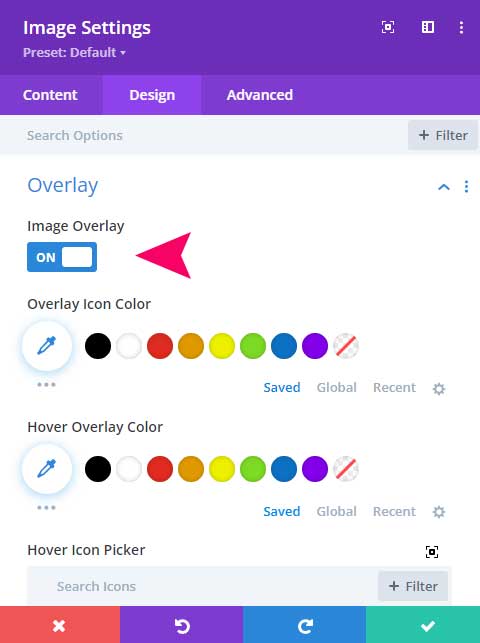
If you do not want an icon on your overlay then you can just set the color to transparent.
On the hover overlay color, you can set your overlay image color.
How to create an image overlay on hover with a title and button
We are going to create an overlay image with inside a title, text, and a button. You can add any module you like.
Step 1: Create the structure
Start by adding a section and a row, I use a 1/3 column structure but you can use any structure you like.
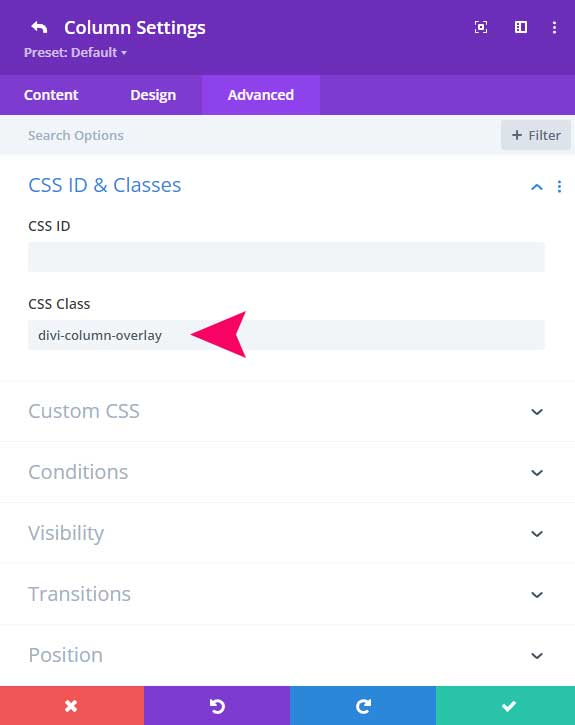
Open the row and then the column. Go to the Advanced tab and place the following CSS class divi-column-overlay.
Inside the column, place a new image module.
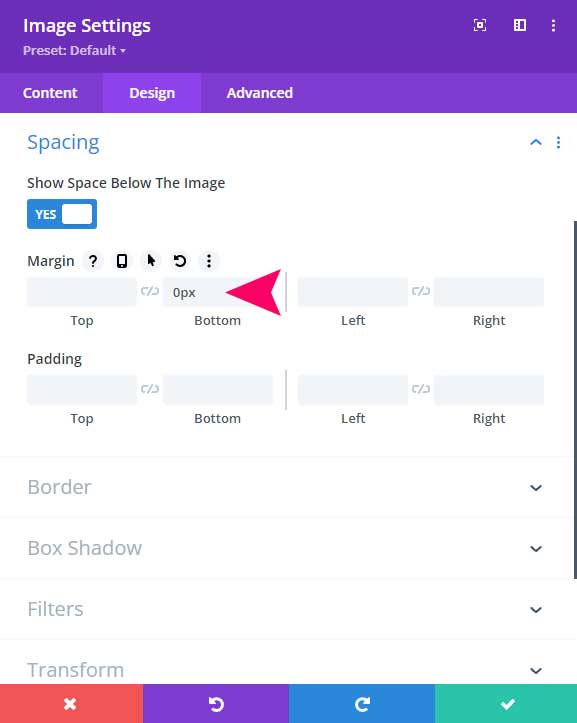
Open the image module and place an image under the image tab. After that go to the design tab and Under Spacing set the bottom margin to 0px.
Then go to the Advanced tab and place the CSS class divi-image-overlay.

Step 2: Add the background overlay
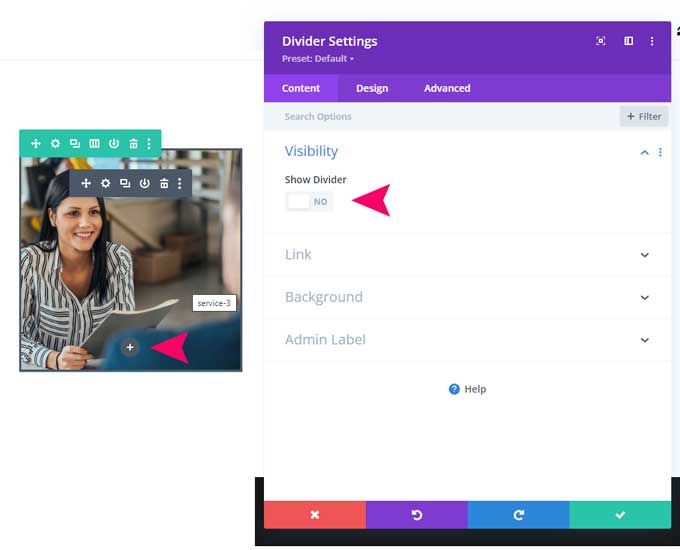
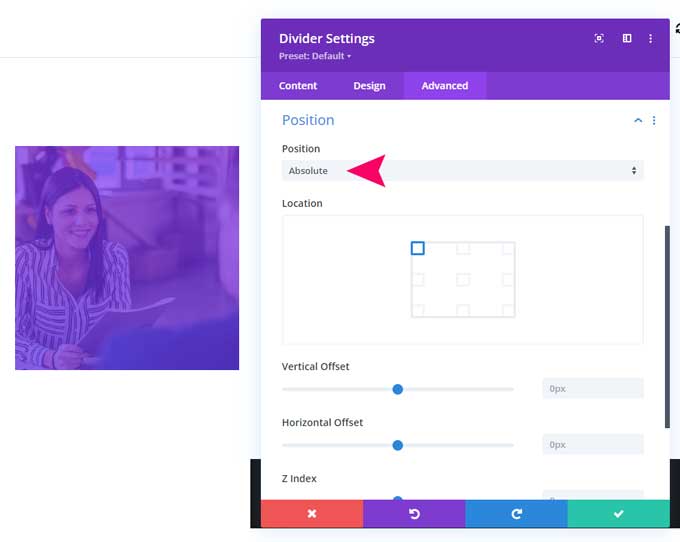
Under the image module you can place a Divider module, we will be using this for the image overlay color.
Disable the setting Show Divider under Visibility.
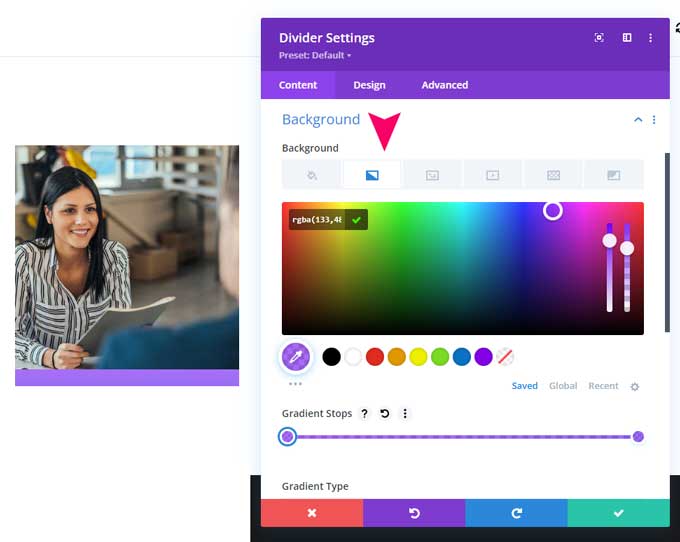
After that expand the Background tab. You can add a background or a background gradient color. If you want a transparent color so the background color shines through the background image then you have to set a transparency, you can do that on the right side of the color window.
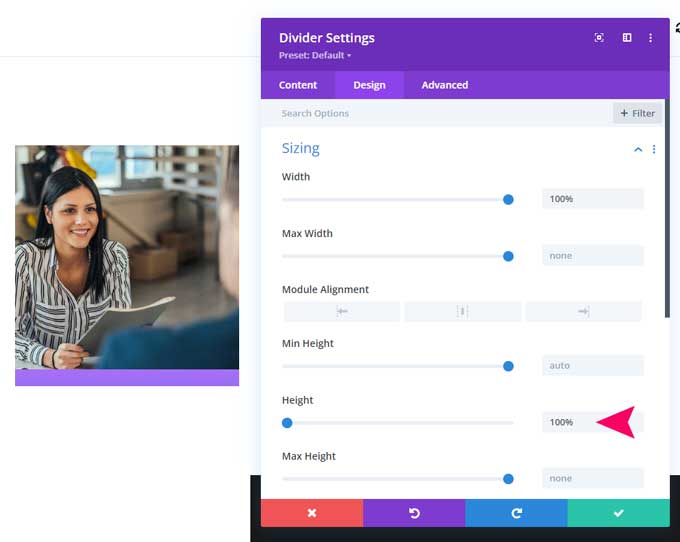
Now head to the design tab and under Sizing set the height to 100%.
After that go to the Advanced tab and set the position to absolute.
Note: The divider module is now on top of the image module and you can not target the image module to open it. If you need to open the image module then switch to wireframe view (left-bottom icon) or open the layers panel (right-bottom icon).
Step 3: The overlay heading text
Add a text module under your image and place an h2 title in the text field. This will be the overlay heading text.
I have used the following settings for this title:
font-family: Open-sans
font-weight: light
heading 2 text alignment: center
heading 2 text color: #ffffff
heading 2 text size: 36px
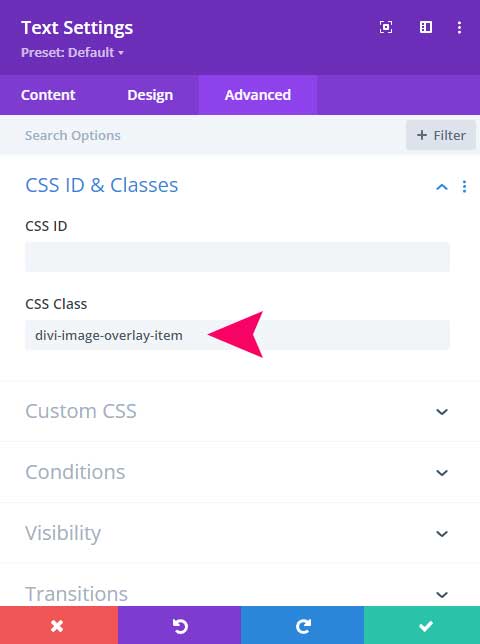
Navigate to the advanced tab and place the CSS class: divi-image-overlay-item
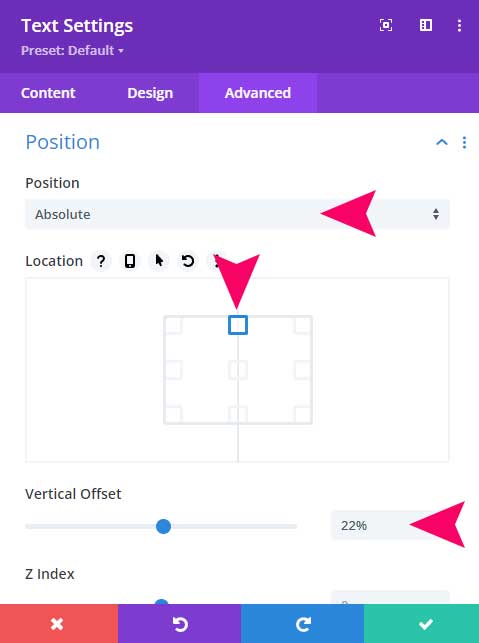
After that expand the Position tab and Set the Position to absolute.
Set the location to top center and the vertical offset to 22%. You have to play with the vertical offset value depending on your image dimensions.
Step 4: The overlay body text
Place another text module below the last one and add some text to this module. This will be the overlay text for the image.
For the text module, I add left and right padding of 35px. So that the text sits a bit away from the edges.
In the advanced tab, I use the same CSS class (divi-image-overlay-item) as previously.
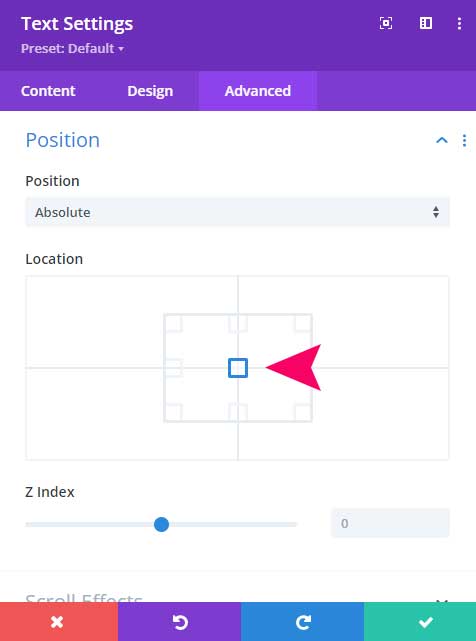
Under position, I use the same settings only in the location I choose center.
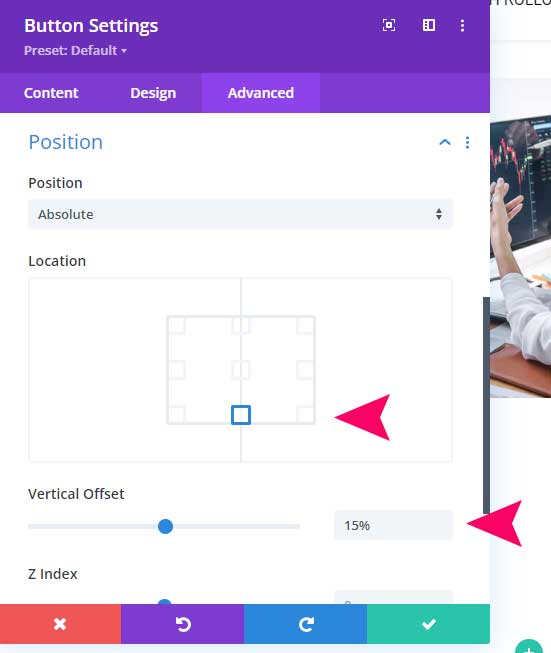
Step 5: The overlay button
Place a button module under your text module and give it the following CSS class “divi-image-overlay-item”. This will be the last overlay element.
I have used the following styling setting for this button:
Button text size: 18px
Button text color: #ffffff
Button background color: gradient
Button border-width: 0px
Button font-weight: bold
For the position, I use bottom center with a vertical offset of 15%.
Step 6: Add the custom CSS code
One final step to make this actually work is to place a code module on your page and place the following custom CSS code into it.
<style>
@media all and (min-width: 981px) {
.divi-image-overlay-item {
   opacity: 0;
}

.divi-column-overlay:hover .divi-image-overlay-item {
   opacity: 1;
}

.divi-column-overlay .divi-image-overlay-item {
   transition: all 300ms !important;/* transition speed */
}}
</style>
Additionally, you can also place the custom CSS code in your Divi > Theme Options > CSS but then without the style tags.
Or in case you are using a Divi child theme then you can place it in there.
Divi Image Hover Plugin

If you really want to take your custom image overlays to the next level then the plugin Divi Image Hover Module is something you want to look into.
Divi Image Hover is the ultimate plugin for creating custom image overlays with ease. It gives you 250+ custom animation options across 6 different categories of effects to choose from, making it the most versatile and feature-rich image module on the market.
Swap images
Swap images are a great way to customize your website and make it look more attractive to visitors. With a number of different effects available, you can easily design custom image overlays for an engaging user experience.
58+ hover effects
With 58+ effects available, you can easily customize your image overlays for greater appeal. From classic fade-ins and wipe effects to slideshows and 3D transformations, you have plenty of options to choose from when crafting the perfect custom Divi hover effect.
Conclusion
Creating an engaging Divi image overlay design is easier than you might think! With a little bit of creativity and the right tools, you can easily create a stunning overlay image that will keep your visitors engaged with your site.
Thanks for following along with this tutorial. I hope you found it helpful and please feel free to share it with anyone who might need it.
Do you have any questions or comments about creating an engaging Divi image overlay? Let me know in the comments below!

Very helpful, thank you 🙂
You’re welcome Jemma
When you get to the point in the process where the instruction is to “go to the design tab and under Sizing set the height to 100%”, I can’t. Mine is set to use only px and I don’t seem to be able to change this. Any suggestions? It is stopping the process. Thanks!
Hi Amy,
If you place this 100% will it automatically set it to 100px?
You have to enter the % after the 100.