Divi AI has introduced an advanced AI Image Editor in its Divi builder. You can easily modify images, add or remove items from an image, or extend and fill the image.
In this post, I give these new features a spin and let you know my thoughts on them.

Key Takeaways
- Users can modify images within the Divi builder, generating new images and changing styles using AI.
- The editor allows users to use a brush to paint areas for modification and instruct Divi AI on how to make changes.
- It can add new elements or modify existing ones within an image, making it easier to create customized visuals.
- Users can change the aspect ratio of images and expand the canvas, allowing images to fit any layout.
- Existing objects within images can be modified, offering practical applications for enhancing images.
- Divi AI also provides an enhancement feature to improve image detail, contrast, and saturation.
- The AI Image Editor offers the ability to work with low-resolution images for quick results, enhance them, and then upscale to high resolution.
Modifying Images
With the new image modifying feature you can use a brush to select an area and instruct Divi AI to modify the image.
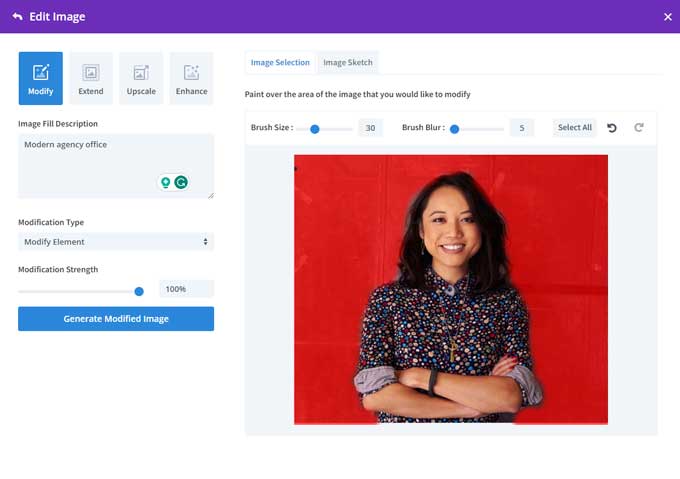
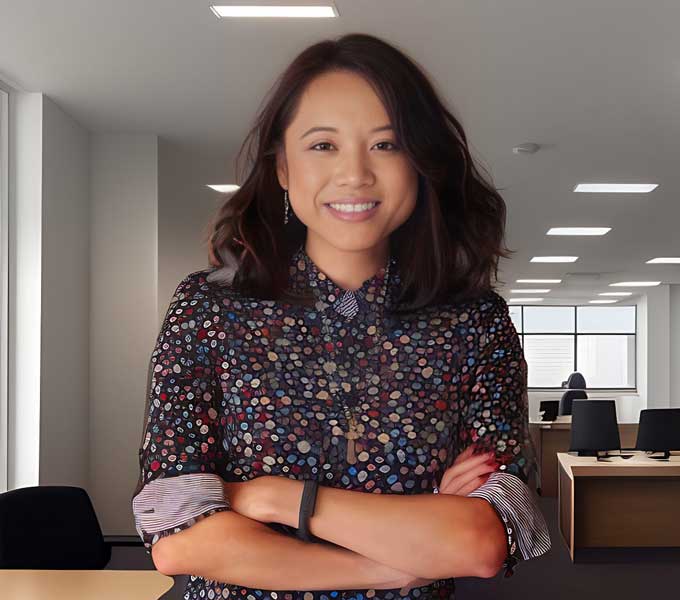
In the image below I will be changing the background to a background for an office.
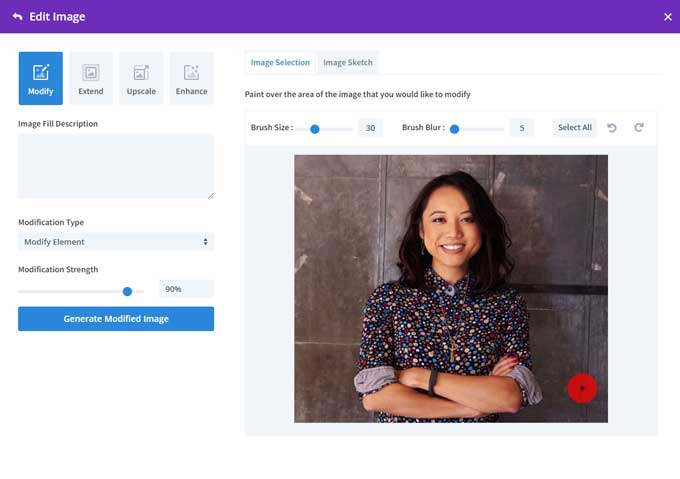
I brush the background with the brush tool and will give a prompt in the Image Fill Description box.
The result.
My thoughts about the modifying feature
I tried different types of images and the modifying image feature works pretty well. You have to play a bit with the prompts to get a good result but overall this is a nice feature.
The brushing aspect is very easy to use and works well.
Adding New Elements
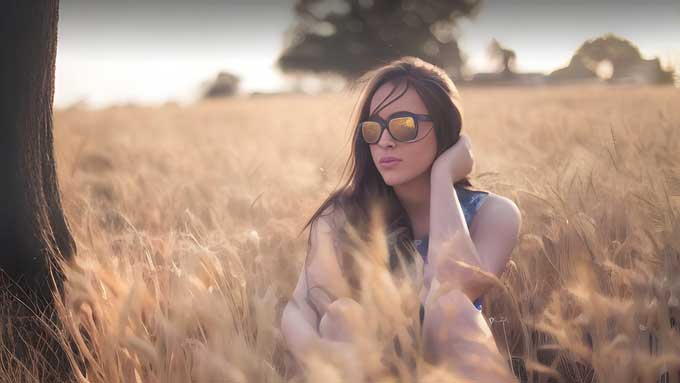
With the brush tool, you can also add new features to an image. I brush the left side of the image and use a prompt to add a tree to it.
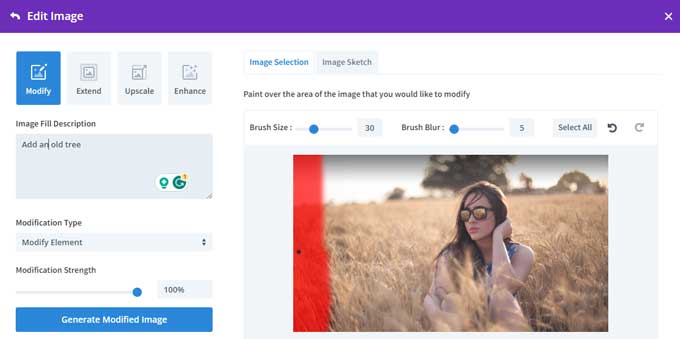
After the image generation, the image has now a tree on the left.
My thoughts about the new “adding elements” feature
This is a great way to add or remove elements from an image. I do notice that sometimes the rest of the image gets altered as well instead of only the brushed area.
Expand and Fill
With the expand and fill option, you can change the aspect ratio of an image and fill in any gaps that may appear.
Using the expand feature, you can also increase the canvas size for a better layout fit.
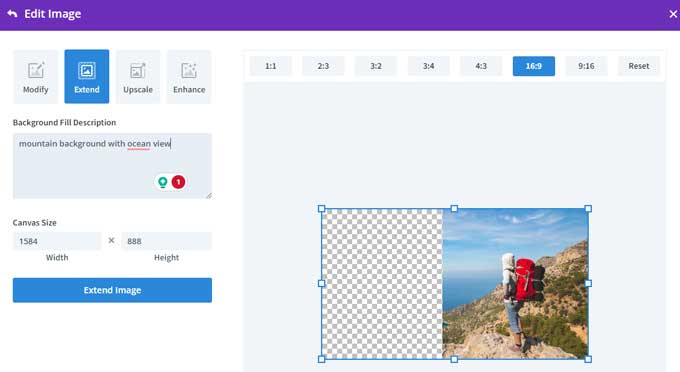
The result.

My thoughts about expanding and filling
This is a great solution for many use cases. For example, if you have a square image but want to use it for a hero header then you can do that with this feature.
However, I did have some difficulties with this feature to get some good results.
For example this one, I try to add legs to this person but it will always give me a table in front of her.
I tried to do this with different images and prompts but it always places an object in front of the person.
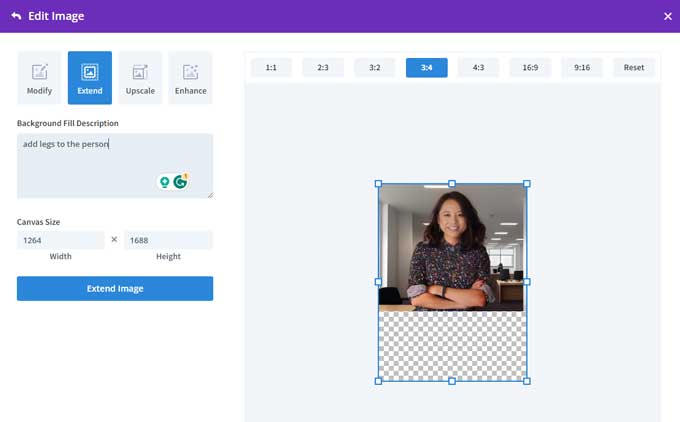
The result
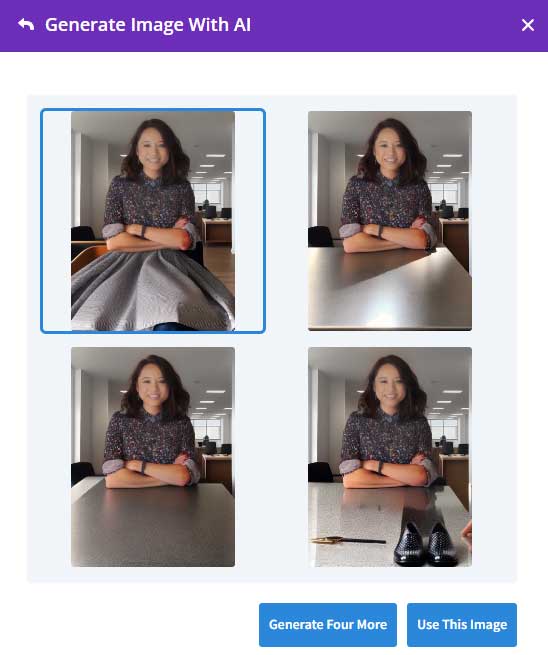
It does work much better for landscape/nature images but it does change the image to more of a drawing style image.
Enhance Images
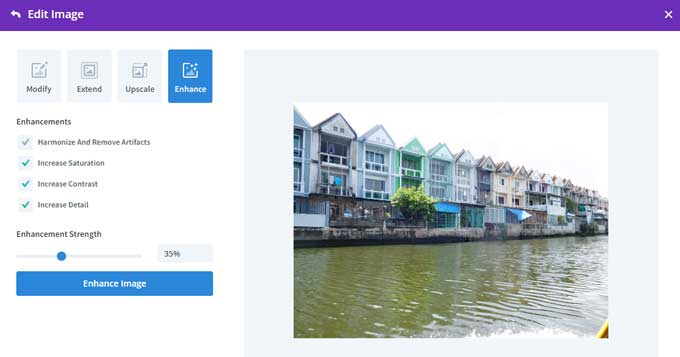
With this feature, you can increase the saturation, contrast, and detail settings of an image.
This is the default image I use.

With all options enabled and an enhancement strength of 35%.
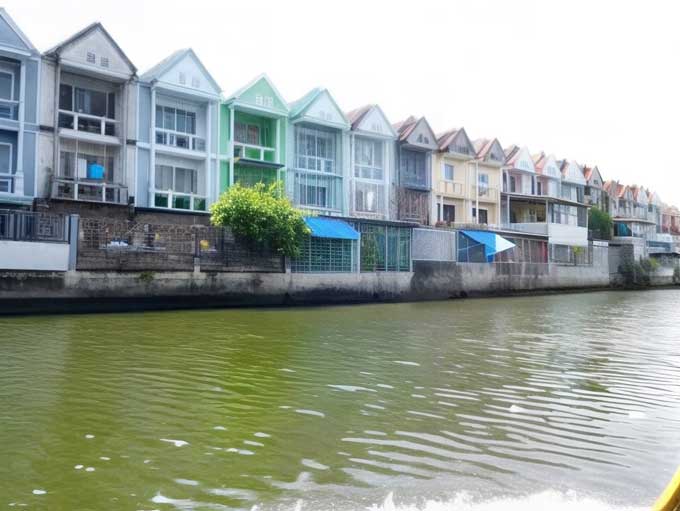
The result.
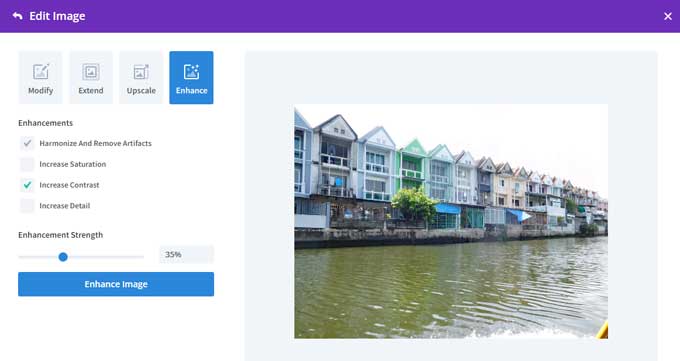
With only the contrast setting.
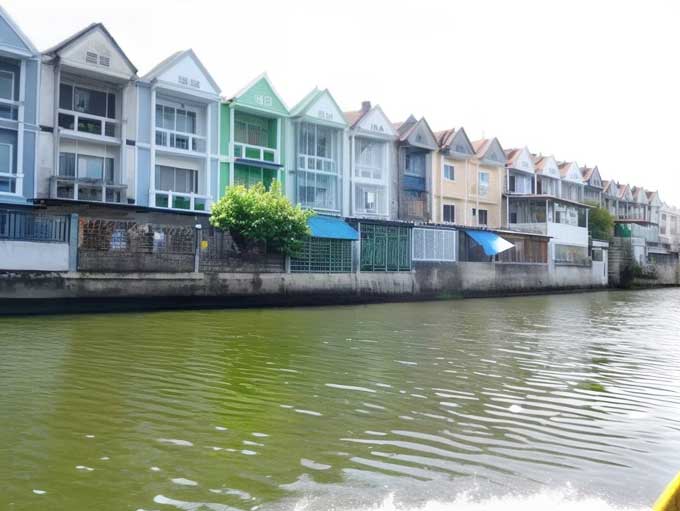
The result.
My thoughts about the enhancement feature
In the above example, I believe the default image is the best looking. I tried different images with lower starting quality but I can not get it better looking.
Overall thoughts about the new Divi AI image features
These features are very easy to use and can be very helpful to modify images in a short amount of time.
The two features to modify and add elements to images worked the best for me.
The extend and fill feature is a great concept but it does not work well in all situations yet. If you are using scenic or landscape images then it will work with some prompting, but images with people are more difficult to get good.
Have you used the latest Divi AI image features? Let me know in the comments what your experience is.
With the release of these new features, you can Get Divi AI now with a 40% discount.


