


Elegant Themes has introduced a powerful new feature in Divi 5 — the Loop Builder. If you’ve ever felt limited by the standard Blog or Portfolio modules in Divi, the Loop Builder gives you the freedom to design custom templates for any kind of repeating content — blog posts, events, products, portfolios, and more.
In this post, I’ll walk you through:
- What the Loop Builder is
- Why you should use it
- How to build a simple blog layout with it
- And I’ll show you 3 real-world examples — including an event calendar
Let’s dive in.
What Is the Divi Loop Builder?
The Loop Builder allows you to create fully customized layouts for repeating content in WordPress — like blog posts or custom post types — using Divi’s visual builder.
It’s called a “loop” because WordPress fetches content using something called The Loop — it’s how posts, pages, or products are listed dynamically. Divi’s Loop Builder gives you complete visual control over how each item in that loop looks, using the same modules and styling tools you’re already used to.
Imagine designing your own blog card from scratch — layout, spacing, typography, images, buttons — all with dynamic data.
Why Use the Loop Builder?
You might be wondering: Why should I use the Loop Builder when Divi already has a Blog module?
Well, here’s the difference:
The Blog Module:
- Limited layout and structure
- Predefined design with toggles for author, date, etc.
- Minimal customization
The Loop Builder:
- Design everything from scratch
- Place elements exactly where you want them
- Style them however you like using Divi modules
- Use dynamic content from any post type or custom field
It’s ideal for creating blog layouts, product listings, testimonial sliders, event grids — basically any repeating content.
Setting Up a Basic Blog Layout with the Loop Builder
Here’s a quick step-by-step guide to building a custom blog card using the Loop Builder.
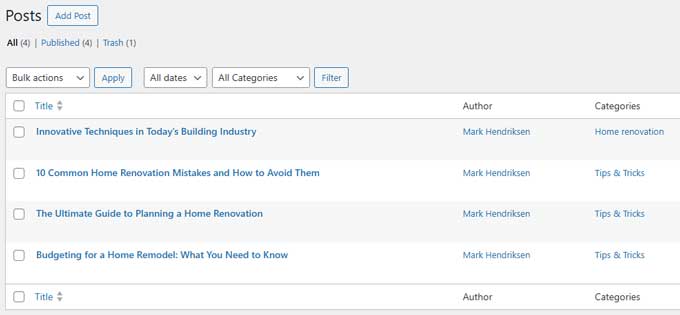
Step 1: Create Some Posts
Start by creating a few blog posts in WordPress. Make sure each has a title, content, and featured image.
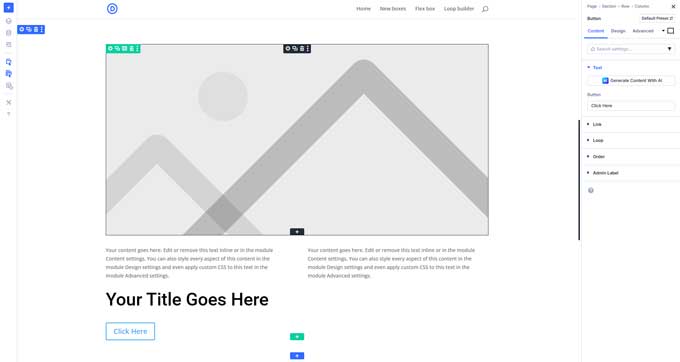
Step 2: Build the Card Layout
In the Divi Builder:
- Add a new row (1 column)
- Inside, add an Image Module for the featured image
- Below, add a 2-column row with Text Modules for category and date
- Add a Heading Module for the post title
- Add a Button Module labeled Read More
This is the basic layout of your blog card.
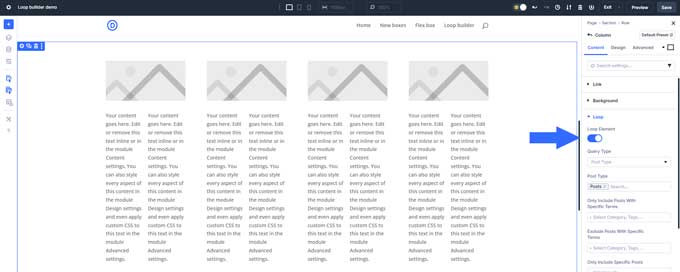
Step 3: Enable the Loop
- Open the column that holds the layout
- Go to the Loop settings and enable “Loop Element”
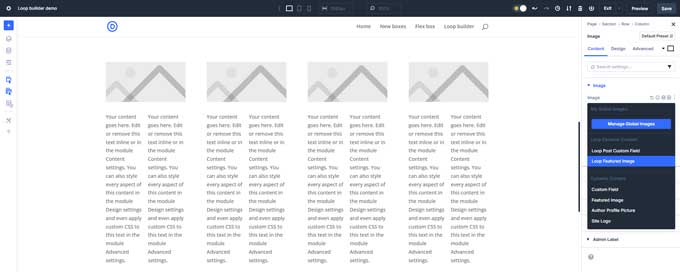
Step 4: Assign Dynamic Content
Now replace static content with dynamic fields:
- Image:
Looped Featured Image - Category:
Loop Post Terms - Date:
Loop Publish Date - Title:
Loop Post Title - Button link:
Loop Link
Your layout is now powered by WordPress posts!
Step 5: Style Your Blog Card
Use Divi’s Design tab to style each element — fonts, spacing, background, shadows — the works.
To adjust the layout:
- In the row settings, enable Layout Wrapping
- In the column settings, tweak spacing and structure as needed
From here, you can get as creative as you want!
3 Loop Builder Examples
Here are three different layouts I’ve built using the Loop Builder to give you some inspiration.
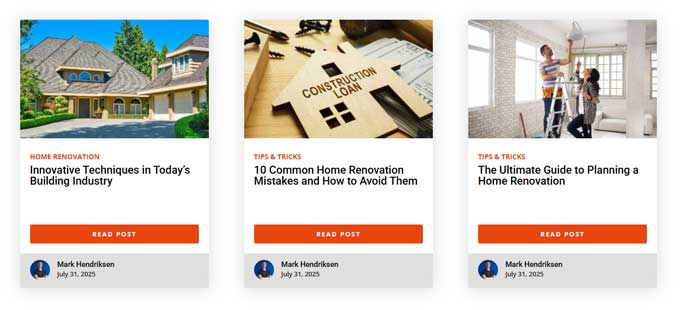
1. Blog Card with Author Info
- Layout includes a featured image, category, title, date, and “Read More” button.
- Button is aligned to the bottom for consistency.
- Added an author section using a Blurb Module:
- Name:
Loop Author - Photo:
Author Profile Picture
- Name:
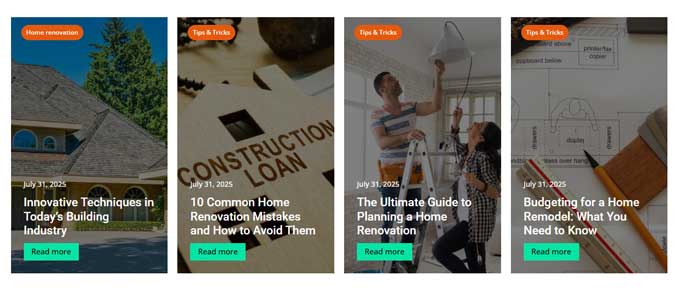
2. Blog Card with Background Image
- The featured image is used as a background for the column.
- To do this, insert dynamic content into the column’s background:
Looped Featured Image - Content is layered on top, creating a clean modern layout.
3. Event Calendar (Using Custom Fields)
- Instead of posts, this uses the Projects post type.
- Custom fields added: event date, day, time, location (via ACF or similar).
- Modules display this info using
Loop Post Custom Field - Under the field settings, just enter the custom meta key (e.g.
event_date)
🎥 I’ll be creating a full tutorial for this event calendar soon — stay tuned!
Final Thoughts
The Loop Builder is a major upgrade for Divi users — giving you the freedom to design custom content layouts without needing extra plugins or code.
Whether you’re building blogs, portfolios, or custom grids, this tool is a game-changer.
If you’re ready to take full control over your content design in Divi 5, the Loop Builder is where you start.

Great content Mark and thank you for taking the time to put this together and sharing. This is definitely a game changer for me. Makes life easier.
When I use the loop feature, even though my images are the same size, they render different from snippet to snippet. They snippets never show the same even though supposed they are looping from the same image module.