Planning a wedding involves a multitude of details, and keeping your guests informed and excited is a crucial part of the process. A wedding website serves as the perfect hub for all your wedding-related information. It’s not only a helpful tool for your guests but also a wonderful way to share your love story. In this guide, we’ll walk you through the steps to create a beautiful and functional wedding website.
How to Make a Wedding Website Step-By-Step
We outline the process of building a wedding website in 6 steps.

Step 1: Planning Your Wedding Website
Define Your Goals
Before diving into the creation process, it’s essential to understand what you want to achieve with your wedding website. Do you want to share your story, provide event details, or both? Consider the information your guests will need and how the website can make their experience better.
Choose Your Platform
There are several website builders that make it easy to create a wedding website. Popular options include Wix, Squarespace, and WordPress. Each platform has its pros and cons:
- Wix: User-friendly, with a wide range of customizable templates.
- Squarespace: Known for elegant design and excellent customer support.
- WordPress: Highly customizable, but may require more technical know-how.
Step 2: Setting Up Your Website
Choose a Domain Name
Selecting a memorable and relevant domain name is crucial. It should be easy to remember and reflective of your wedding. Something like “JaneAndJohnWedding.com” works well. Once you’ve decided, you can register your domain through services like SiteGround or directly through your chosen website builder.
Select a Template

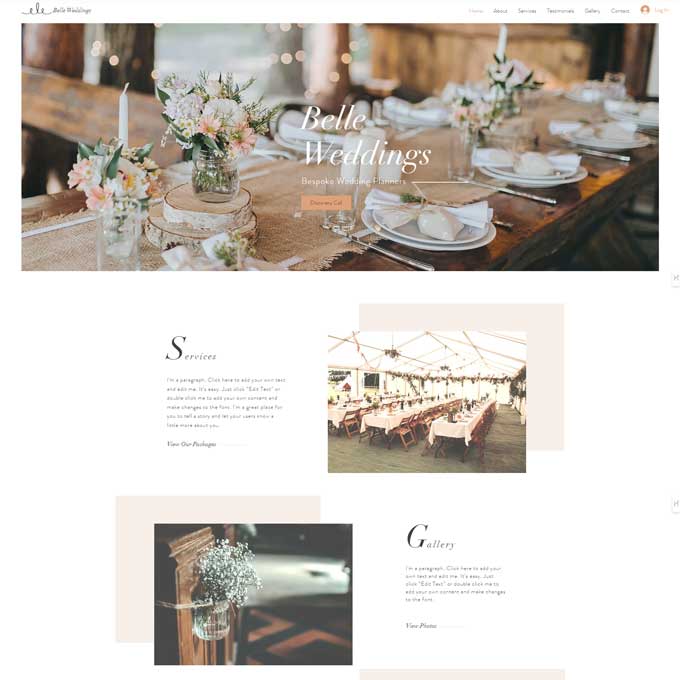
A wedding-specific template can save you time and provide a cohesive look. Most website builders offer a variety of wedding templates. Choose one that matches your wedding theme and customize it to reflect your style.
For inspiration, check out this blog post on wedding website examples. It offers great ideas for wedding websites that you can use.
Step 3: Designing Your Website
Visual Design
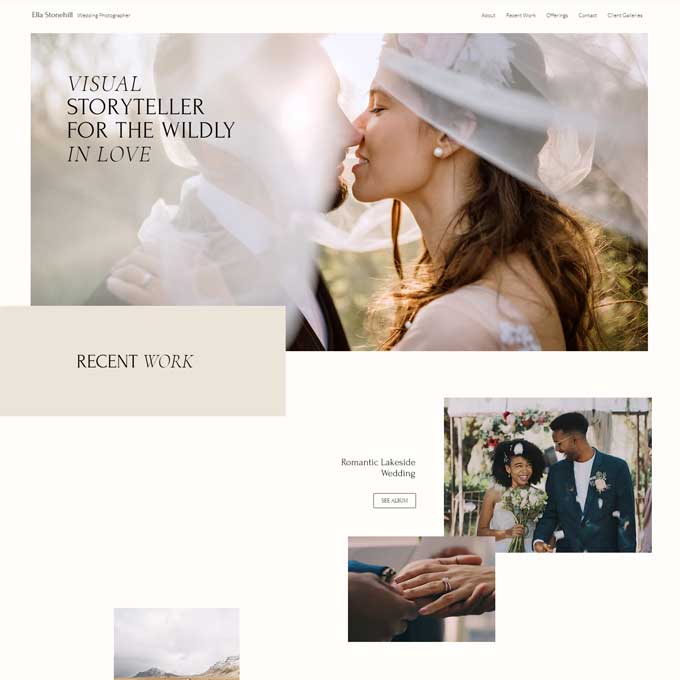
Your wedding website should be visually appealing. Choose a color scheme and fonts that match your wedding theme. Incorporate engagement photos and other visuals to personalize your site and make it unique.
Layout and Navigation
Organize your content so it’s easy to navigate. Key pages to include are:
- Home: Welcome message and overview.
- Our Story: Share your journey as a couple.
- Event Details: Information about the wedding day.
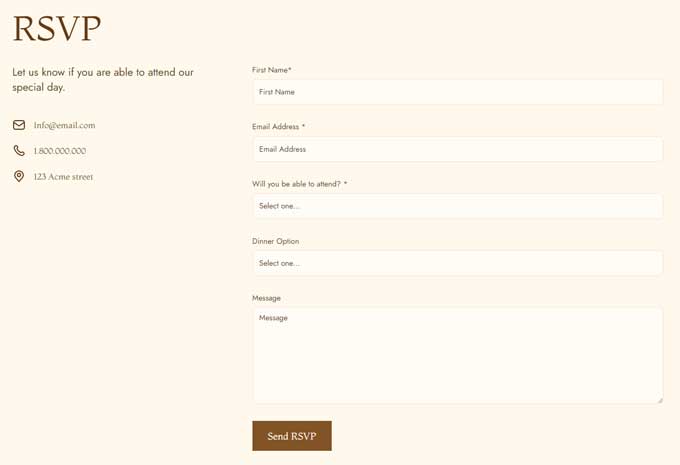
- RSVP: A form for guests to confirm their attendance.
- Registry: Links to your gift registry.
- Contact: Ways for guests to reach out with questions.
Step 4: Adding Content
Writing Engaging Content
Craft a compelling wedding welcome message that sets the tone for your wedding. Share your story as a couple in a way that engages your guests. Be concise but heartfelt.
Event Details
Provide clear and detailed information about your wedding day. Include the venue, date, time, and any additional events. Offer maps, directions, and accommodation options to make it easy for guests to plan their trip.
RSVP and Registry
Set up an RSVP form to streamline the process of collecting responses. Include all necessary fields, such as meal preferences and plus-one information. Add links to your gift registry, making it easy for guests to find and purchase gifts.

Step 5: Enhancing Functionality
Integrating Social Media
Link your social media profiles to your website and encourage guests to use a wedding hashtag. This helps create a sense of community and allows everyone to share their experiences.
Guest Interaction
Consider adding a guestbook or message board where guests can leave messages and well-wishes. Providing a way for guests to contact you directly via the website can also be helpful.
Step 6: Final Touches and Launch
Testing Your Website
Before going live, test your website thoroughly. Check for broken links, ensure all information is accurate, and verify that the site is mobile-friendly. A large portion of your guests will likely view the site on their phones.
Getting Feedback
Ask a few friends or family members to review your site. Their feedback can help you identify any areas for improvement. Make the necessary adjustments based on their input.
Publishing and Promoting
Once you’re satisfied with your website, it’s time to publish it. Announce your website to guests via email and social media. Include the link on your wedding invitations to ensure everyone knows where to find it.
Conclusion
Creating a wedding website is a fun and rewarding project that enhances your guests’ experience and helps you stay organized. By following these steps, you can create a beautiful and functional site that reflects your unique love story. Get started today, and enjoy the process of sharing your journey with your loved ones.
Additional Resources
Templates and Examples
Here are some popular wedding website templates to get you started:
Tools and Plugins
Enhance your website’s functionality with these tools:
By following this guide, you’ll be well on your way to creating a stunning wedding website that keeps your guests informed and excited for your big day.


