With the email opt-in module, you can let your visitors signup for your email list. You can choose 2 layouts for this module title and description on the left and a stacked form on the right or title and description on the top and a stacked form on the bottom. Both of these layouts require some space for your opt-in.
In this tutorial, we will be going to create a horizontal opt-in with a title on the left and a horizontal form on the right.
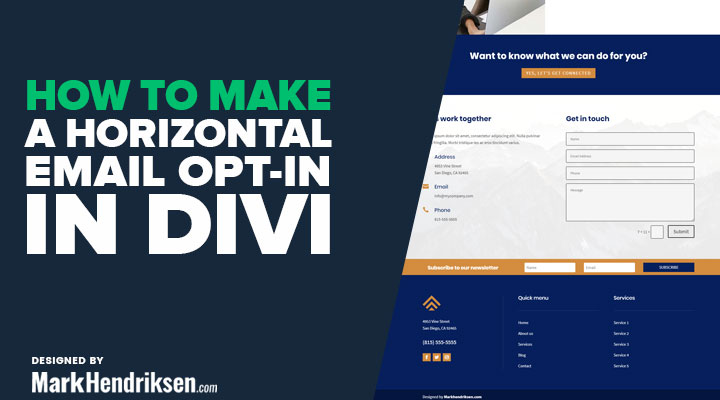
This is what we will be building.

Scroll to the bottom
Step 1
Create a section with a row and use a 1/3 – 2/3 column structure. Place a text module in the 1/3 column and an email opt-in module in the 2/3 column.

Step 2
The section needs to have the following settings:
Content
Background:
Background-color: #d38c3f
Design
Spacing
Custom Padding
Top: 0px
Bottom: 0px
Left: 0px
Right: 0px
Step 3
The row needs to have the following settings:
Design
Spacing
Custom Padding
Top: 10px
Bottom: 9px
Left: 0px
Right: 0px
Advanced
CSS ID & Classes
Column 1 CSS Class
horizontal_optin_column_1
Step 4
The text module in the 1/3 column needs to have the following settings:
Content
Text
Content
Ad a h3 title like this:
Subscribe to our newsletter
Design
Heading text
H3
Heading 3 font weight:
Bold
Heading 3 text color:
#ffffff
Spacing
Custom Margin
Top: 5px
Step 5
The email opt-in module in the 2/3 column needs to have the following settings:
Design
Email account
Add here your service provider and list
Fields
Enable: Use single name field
Background
Disable: use background color
Content
Layout
Body on bottom form on top
Name full width
Disable
First name fullwidth
Disable
Last name fullwidth
Disable
Email full width
Disable
Button
Use custom style for button:
Enable
Button text size:
16px
Button text color:
#ffffff
Button background color:
#061f5c
Button border width:
0px
Button border radius:
0px
Font-style:
Uppercase
Show button icon:
No
Spacing
Custom padding
Top: 0px
Bottom: 0px
Left: 0px
Right: 0px
Advanced
CSS ID & Classes
CSS Class
custom_emailoptin
Step 6
Place the following CSS in Divi > Theme Options > CSS, or in your Divi child theme.
@media (min-width: 981px) {
.custom_emailoptin .et_pb_newsletter_form .et_pb_contact_field_half {
    flex-basis: 30%;
 }

.custom_emailoptin .et_pb_newsletter_fields>* {
    flex-basis: 30%;
}

.custom_emailoptin.et_pb_newsletter_layout_bottom_top .et_pb_newsletter_form {
    padding-bottom: 0px;
}

.custom_emailoptin p.et_pb_newsletter_field {
    padding-bottom: 0px;
}

.custom_emailoptin .et_pb_newsletter_button_wrap {
	margin-top: 0px;
}

.custom_emailoptin .et_pb_newsletter_form .input,
.custom_emailoptin .et_pb_newsletter_form input[type=text], .custom_emailoptin .et_pb_newsletter_form p.et_pb_newsletter_field input[type=text] {
	padding-top: 9px !important;
	padding-bottom: 9px !important;
}}

.custom_emailoptin .et_pb_newsletter_description,
.custom_emailoptin .et_pb_newsletter_footer {
    display: none;
}

@media (max-width: 980px) {
.horizontal_optin_column_1 {
	margin-bottom: 0px !important;
}}


Thanks Marks Iris going to be very usefull in my web