


Adding Font Awesome to your Divi website is easy to do. In this tutorial, I will show you 3 ways to add Font Awesome to your site. The first method is the easiest and quickest way but the third method is better for your website loading times.
Method 1: Adding Font Awesome With Plugin
This method is very easy to do just install the Font Awesome Plugin. After installing the plugin you can use shortcodes to insert icons. For example, to use the check icon you would need to use this shortcode:
[icon name="check"]You can replace the icon name “check” with any other icon name. You can find all the icon names here.
Method 2: Adding Font Awesome Manually
Go to the Font Awesome website and click on “Start for free” Now you have to take a few steps to create a kit.
After you have created your kit you will get a little code snippet, something like this:
<script src="https://kit.fontawesome.com/????????.js" crossorigin="anonymous"></script>You can not use this one that will not work.
Now go to your site and navigate to Divi > Theme Options > Integration and add the code into Add code to the < head > of your blog.
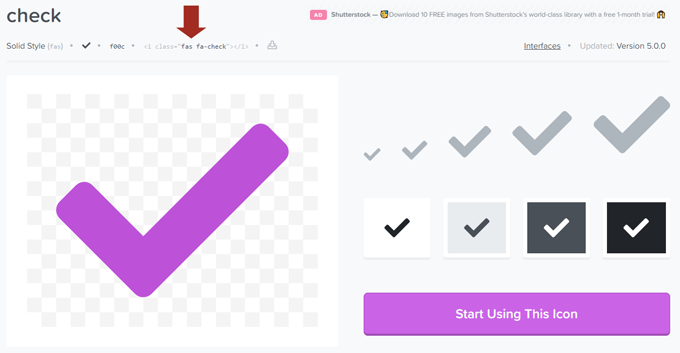
To add an icon to your Divi website head over to Font Awesome and choose an icon. Then copy the icon code and paste it for example into a text module.
Method 3: Host Font Awesome Locally (Best method)
Using Font Awesome can slow down your website because it will load in an external script with all the icons. Even if you are only using 1 icon it will load in the entire library. It is better to host the icons locally on your hosting. You will only load in the icons you will be using + there will be no external script be loading.
Step 1
Go to Icomoon and choose the Font Awesome library.
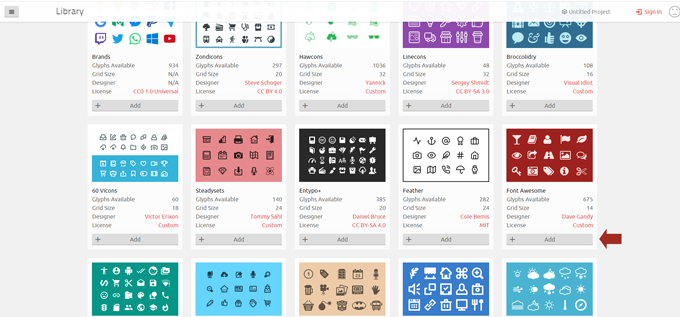
Choose the icons you want to use and click on generate Font.
On the next screen you can just click on Download.
Step 2
Unpack the download file. Inside you will find a folder named fonts. Inside this folder, there are 4 files.
Upload the fonts folder with the 4 files in your child theme folder. If you do not have a child theme yet then follow this tutorial on how to create one.
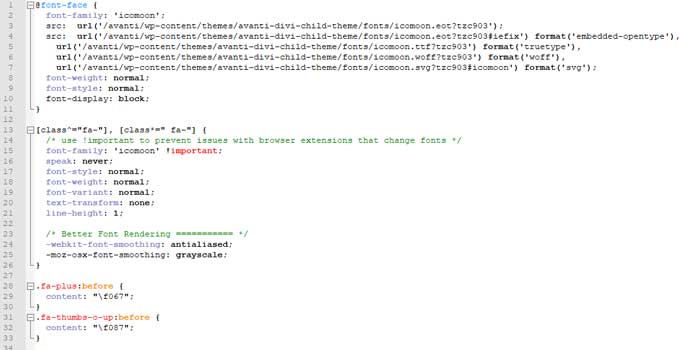
Now open the style.css file inside the icomoon folder and copy the CSS.
Paste the CSS in your child theme CSS file or in Divi > Theme Options > CSS.
Change all the URL paths in the CSS to your font’s map location.
Now you can use the icons on your Divi website. For example, I have a plus icon so I can place this inside a text module to show it.
<i class="fa fa-plus"></i>Change the fa-plus with your icon. You can find that in the CSS.
If you have any questions please let me know in the comments.
