


Testimonials play a crucial role in building trust and credibility for businesses. They serve as powerful social proof, influencing potential customers’ decisions. To effectively showcase testimonials on your website, using a slider can be an engaging and space-efficient method.
In this tutorial, we’ll explore how to create a custom Divi testimonial slider using Divi’s blurb modules and some custom code. Whether you’re a web designer or a business owner, this guide will help you craft a compelling testimonial slider.
Table of Contents
Step-by-Step Guide to Creating a Custom Divi Testimonial Slider
Let me start by showing you the final result of what we’ll be creating.
See DemoStep 1: Place a Section and Row
Start by placing a section and a row with one column.

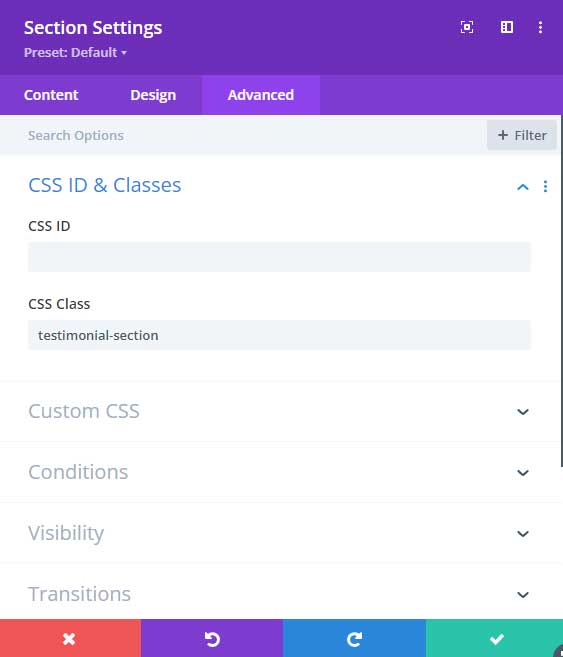
Open the section and go to the Advanced tab.
In the CSS Class field place the class: testimonial-section
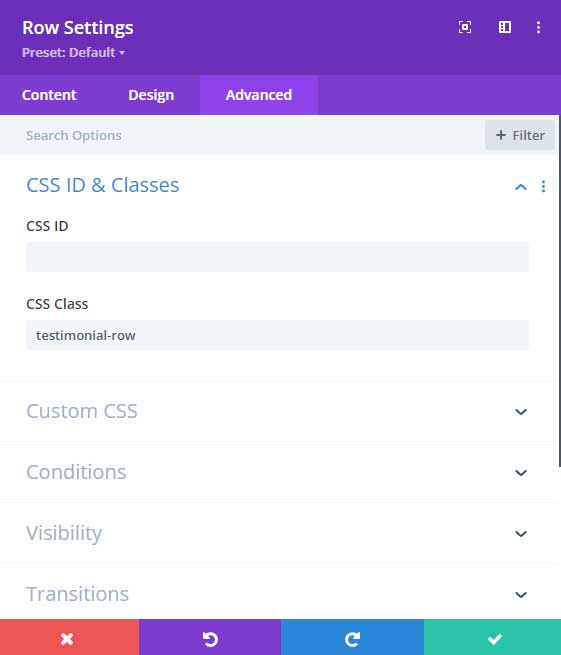
Now open the Row and go to the Advanced tab.
In the CSS Class field place the class: testimonial-row
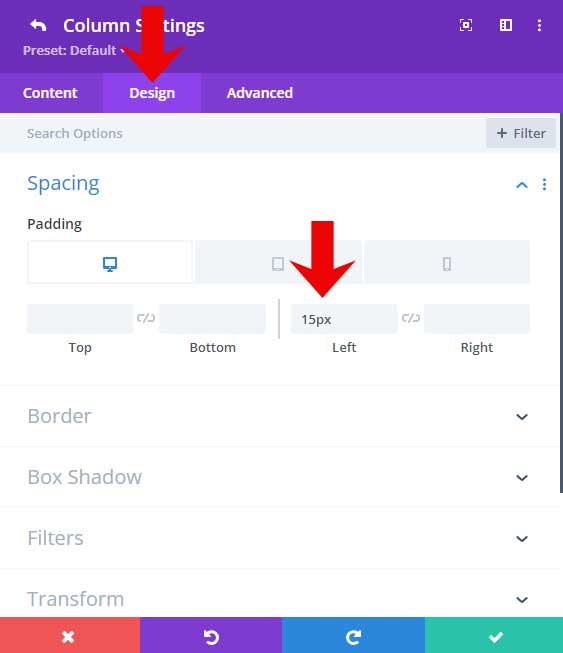
Now open the Row again but this time go to the column settings.

Go to the Design tab and then to Spacing.
For the left padding use 15px.
Change to the mobile tab and place 0px as the left padding.
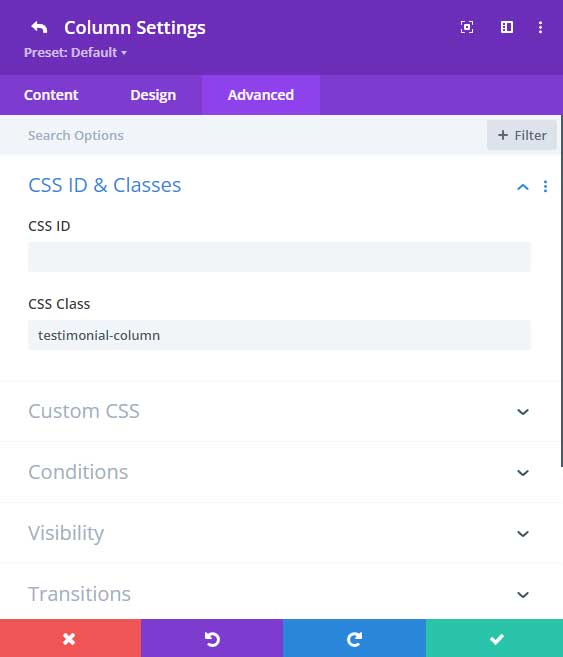
Go to the Advanced tab.
In the CSS Class field place the class: testimonial-column
Step 2: Blurb settings
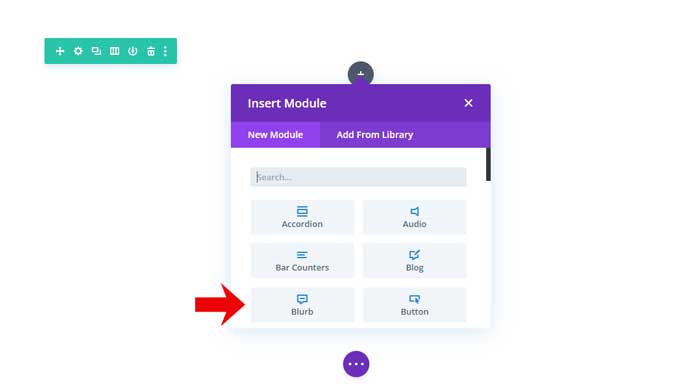
Place a blurb module in the column.
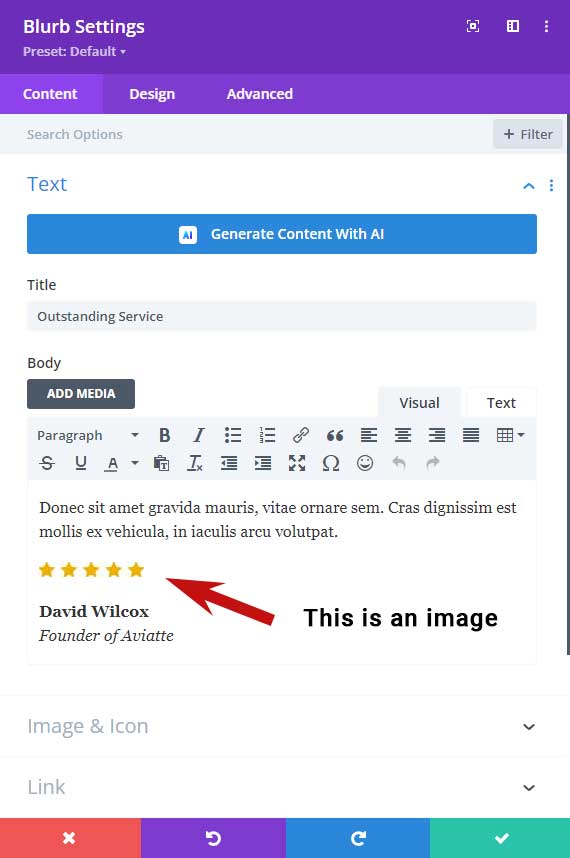
Place a Title and Description for your testimonial.
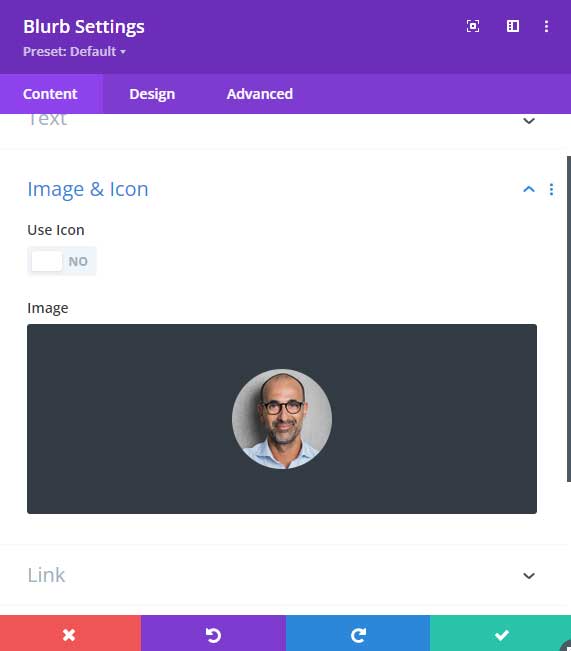
Place a testimonial profile image.
In the Design tab, you can adjust the title and text size. I have aligned the text to the center.
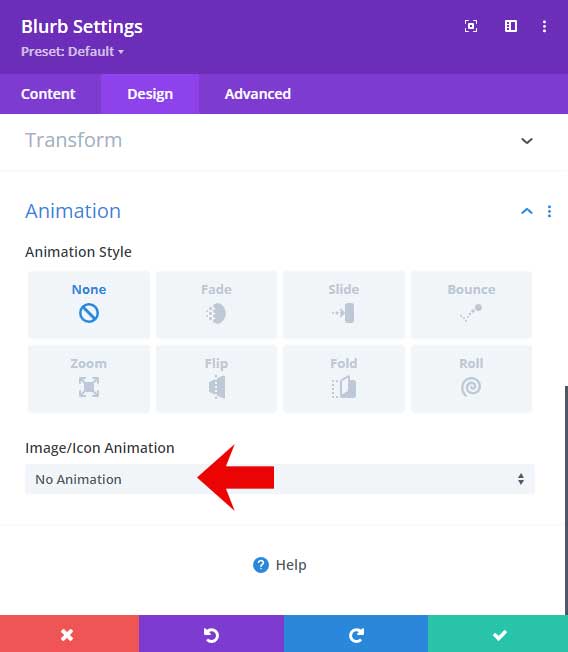
Turn the image animation off.
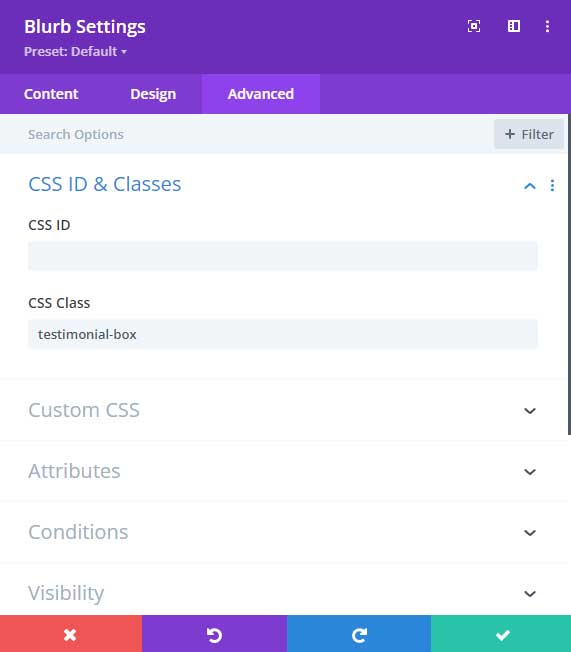
Go to the Advanced tab.
In the CSS Class field place the class: testimonial-box
You can duplicate this blurb module for the other testimonials.
Step 3: Custom Code
Go to Divi > Theme Options > Integration > Add code to the < head > of your blog
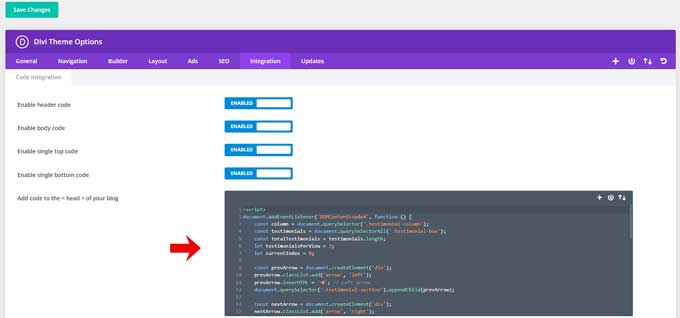
Place the following code here:
<script>
document.addEventListener('DOMContentLoaded', function () {
    const column = document.querySelector('.testimonial-column');
    const testimonials = document.querySelectorAll('.testimonial-box');
    const totalTestimonials = testimonials.length;
    let testimonialsPerView = 3;
    let currentIndex = 0;

    const prevArrow = document.createElement('div');
    prevArrow.classList.add('arrow', 'left');
    prevArrow.innerHTML = '◀'; // Left arrow
    document.querySelector('.testimonial-section').appendChild(prevArrow);

    const nextArrow = document.createElement('div');
    nextArrow.classList.add('arrow', 'right');
    nextArrow.innerHTML = '▶'; // Right arrow
    document.querySelector('.testimonial-section').appendChild(nextArrow);

    function updateTestimonialsPerView() {
        if (window.innerWidth <= 479) {
            testimonialsPerView = 1;
        } else {
            testimonialsPerView = 3;
        }
        updateCarousel();
    }

    function updateCarousel() {
        const offset = -currentIndex * (100 / testimonialsPerView);
        column.style.transform = `translateX(${offset}%)`;
    }

    nextArrow.addEventListener('click', () => {
        if (currentIndex < totalTestimonials - testimonialsPerView) {
            currentIndex++;
            updateCarousel();
        }
    });

    prevArrow.addEventListener('click', () => {
        if (currentIndex > 0) {
            currentIndex--;
            updateCarousel();
        }
    });

    window.addEventListener('resize', updateTestimonialsPerView);
    updateTestimonialsPerView(); // Initial check
});
</script>
Now go to Divi > Theme Options > CSS

Place the following code here:
.testimonial-section {
    max-width: 1200px;
    margin: 0 auto;
    overflow: hidden;
    position: relative;
}

.testimonial-row {
    overflow: hidden;
}

.testimonial-column {
    display: flex;
    transition: transform 0.5s ease;
    gap: 20px; /* Add gap between the items */
}

.testimonial-box {
    flex: 0 0 calc((100% / 3) - 17px); /* Adjust width considering the gap */
    background: #f9f9f9;
    padding: 20px;
    margin: 0 !important;
    box-shadow: 0 0 10px rgba(0, 0, 0, 0.1);
    border-radius: 10px;
    box-sizing: border-box;
}

.arrow {
    position: absolute;
    top: 50%;
    transform: translateY(-50%);
    background: rgba(0,0,0,0.5);
    color: #fff;
    padding: 10px;
    cursor: pointer;
	z-index: 9;
}

.arrow.left {
    left: 10px;
}

.arrow.right {
    right: 10px;
}

/* Responsive design */
@media (max-width: 479px) {
    .testimonial-box {
        flex: 0 0 100%; /* Show one item at a time */
}

.testimonial-column {
    gap: 0px; /* Add gap between the items */
}}
Conclusion
Congratulations! You have successfully created a custom Divi testimonial slider that is not only visually appealing but also fully functional with just Divi blurb modules and some custom code.
