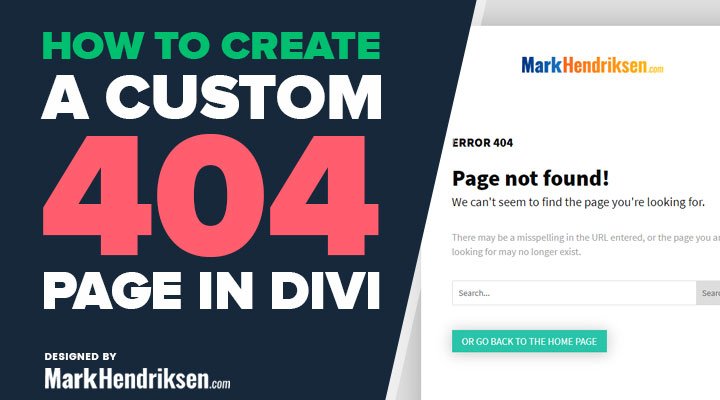
In this tutorial, you will be learning how you can create a custom 404 page in Divi. The 404 page is a page that is often overlooked but it is a good practice to create one and let your visitors know when they reach a dead end and where they can go from there.
This 404 page is fully customizable and you can make your edits with the visual builder.
I have 2 methods to create a custom 404 page in Divi. The first method is the recommended one and is for Divi 4.0+ users. If you are using an older version of Divi you need to use the second method.
Update: this tutorial is updated for Divi 4.0+ which include the Theme Builder. If you are still using an older version of Divi you can still create a custom 404 page, scroll down to the section Create a custom 404 page before 4.0
Create a custom 404 page in Divi 4.0+ with the theme builder
Step 1: Download the files
Download the required files here.
Save the folder “404 page layout.zip” on your computer and unpack this folder.
Step 2: Import the layout
Go to Divi > Divi Library and click on the import/export function.
Then go to the import tab and upload the json file 404 page layout.json
Step 3: Create the 404-page template
Go to Divi > Theme Builder and click on “Add new template”

In the template settings check 404 page and click on “Create Template”.

After the template is created click on “Add custom body”.

Then click on “Add from library”
Go to the “Your saved layouts” tab and choose 404 page.

Don’t forget to click on Save Changes.

And that is it you have created a custom 404 page. To edit this page just click on the pencil icon in the custom body module.
Create a custom 404 page before Divi 4.0+
Step 1
Download the required files here.
Save the download folder “404-files.zip” on your computer and unpack this folder.
Step 2
Upload the file 404.php to your child theme folder.
If you don’t have a child theme you have to create one first. You can follow this tutorial How to create a Divi Child Theme to create one.
Step 3
In your WordPress dashboard navigate to Divi > Divi Library.
Click on “Import & Export”
Import the json file 404 page layout.json
Step 4
You can change the content to your likings, or you can delete all the sections/rows/modules and create something new.
This will not work with the visual builder so you have to edit it from Divi > Divi Library > 404 pageI hope that this tutorial is useful for you and if you have any questions let me know in the comments.
Ps: If you want to stay up to date with my new releases (free layouts, tutorials etc) then sign up for my newsletter and/or follow me on Facebook


Thank you for the short and concise tutorial and the complete 404 ZIP file.
This is great. Gonna use it as is at first, then change it up when I have a bit more time. Thanks!
grateful. But how can one swap this for the default 404 page
If you followed the steps this will replace the default 404 page
This only works on an clean installation because the module number CAN CHANGE (my case).
You have to look in Divi > Divi Library > 404 page what is the module number and REPLACE the default module number inside the 404.php (1154).
That’s all.
Worked perfectly! Normally I have to jump through a bunch of hoops. This was soooooo easy! THANK YOU!!!!
Thank you very much for that, it works really well! The only strange thing in my case is that the top navigation is centered with the logo on top, on this 404 page – while the rest of the website has the default menu (logo left – navigation items on the right). Can I change that somehow?
Thank you,
carmen
Hi Carmen,
If you have a link for me then I have a look.
Thumbs up for that tip!
Do you know if it works as well for other errors? e. 403, 500…?
Thanks
This is great, thanks for sharing. Some sites make this wayyyyy too complicated
This was super simple for a custom Divi 404 Page. Thank you thank you thank you!!
Thanks for this! It worked very well
Thanks alot Mark!