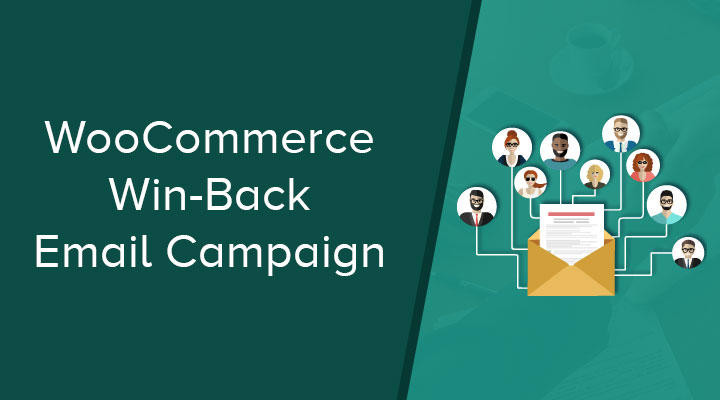
You spend too much time and effort building your customer list not to get as much use out of it as possible. So, when a customer stops paying attention and they’ve neglected your eCommerce store for a while, you want to do your best to win them back. That’s where win-back emails come in!
Checkout out my other email campaigns for WooCommerce.
What’s a Win-Back Email Campaign?
This kind of email marketing campaign consists of sending a series of messages that serve to re-engage inactive customers. If a customer has lost their interest, a win-back email is a nice little nudge to get them back on your side and prompt them to engage and purchase.
Now, you may be wondering: why should I care about a customer who’s not interested? Why should I invest my time and effort into this? Well, when you consider it costs five times more to get new customers, it’s easy to say that a win-back email campaign has a lot of value.
How to Segment Your Win-Back Email Campaign
A win-back email is meant to get an inactive customer to re-engage with your business. This means there are a few factors to consider. For starters, you’ll need to define what’s an inactive customer in your industry. What you’re selling will determine what will qualify a customer as inactive.
You want to start by defining the buyer cycle of your ideal customer and determine how frequently you can expect customers to make a purchase. For example, if you sell furniture, you can expect your customers to purchase a lot less frequently than say, a clothing store. Once you have a clear idea of what inactive means for your business, you can start working on your win-back email campaign.
How Many Win-Back Emails to Send
For a win-back email campaign, it can be tricky to determine how many emails you should send. There’s a bit of a dilemma here because you know your subscriber is not opening your emails, and the possibility of them unsubscribing from your email list is very real.
Also, sending too many emails to inactive customers will damage your sending reputation, which can hurt your email campaign. The best you can do is send 2 or 3 emails, tops. If your customers are still not engaging, it means you’ve lost them. This is why it’s a good idea to purge your subscriber list from inactive customers every 30 days.
What Should the Win-Back Email Include
Discounts and coupons are a very popular way to incentivize inactive customers. These tools work, there’s no doubt about it. However, if you’re not in a position to give away discounts or coupons, smart and high-quality copyright will achieve the goal as well.
Providing valuable content is just as effective, so make sure you help customers solve a problem, provide information on how to get greater value from products they’re purchased, send updates on your company and your products, and more.
The key to win-back emails is to keep things simple and interesting. An inactive user won’t invest much time reading your email anyway, so you need to grab their attention quickly!
How to Create a Win-Back Email Campaign
Now it is time to create the win-back email funnel. I will be using the plugin Autonami from Buildwoofunnels.
Let’s take a look at how the result of this win-back funnel will look. We start by creating a customer win-back trigger. I will set this to 60 days of the last purchase. Then we will be creating an evergreen coupon code and send that in 2 emails.

Step 1 install the plugin
After you have downloaded the plugin go to Plugins and upload the Autonami plugin. After the upload process has finished go ahead and activate the plugin.
Step 2 Creating your win-back funnel
Go to WooFunnels > Automations and click on Add New

Step 3 Creating the trigger
We start by creating a trigger for this email funnel. This is the win-back funnel so it needs to trigger when someone made a purchase.
I will be using the following settings for this trigger.
- Give your email funnel a name.
- Set the event of this automation to Customer Win Back.

Now you can set the time period to trigger this funnel. I choose over 60 days and under 90 days. This means when a customer purchases a product but did not purchase another product in 60 days.

Step 4 Creating the evergreen coupon code
Click on the + icon and choose direct Action.

- Click on Add Action and choose Create Coupon from the dropdown menu.
- Select your coupon (you have to create one first in WooCommerce).
- With the merge tags you can personalize the coupon. I use ComeBack and then the first name.
- Here you can set an expire time for your coupon.

Step 5 Creating the email
Click on Add Action and chosse send Email from the dropdown.
- Email subject line
- Body copy of your email
- Use merg tags to personalize your email and to place your coupon code.
- You can use this field to send a test email
- Here you can set a delay for your email. I only do this for the second reminder email.

Add this set and forget win-back email campaign and get lost customers back on autopilot.


